Learn how to create multiple users and classes using Bulk Upload in the Administrator Portal
Tip: You can create multiple classes and add multiple users (teachers and students) at one time by uploading an .xlsx, .xls, or .csv file.
Important: Use these steps when creating new users and classes. Do not use these steps to add additional, new users to an existing class. For the latter, please use the guides below:
• Adding Users to Classes
• Creating Individual Users
• Creating Individual Classes
1. Login to the Administrator Portal
2. Click "Users" at the top of the page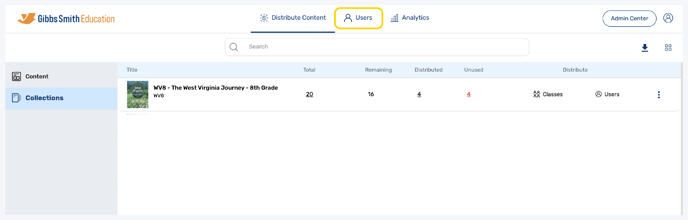
3. (District Accounts Only) Click the School Selection from the top of the page and select which school you would like to manage users and classes for
4. In the left panel, toggle between Users and Class to see what is already there
Tips:
- If you see your desired class filled with users (teacher(s) and students), this section has already been done by your administrator and you should not continue with these steps or you may duplicate the class, which could cause problems.
- If you do not see your desired class filled with users, or you would like to set up a new class, please continue with these steps.
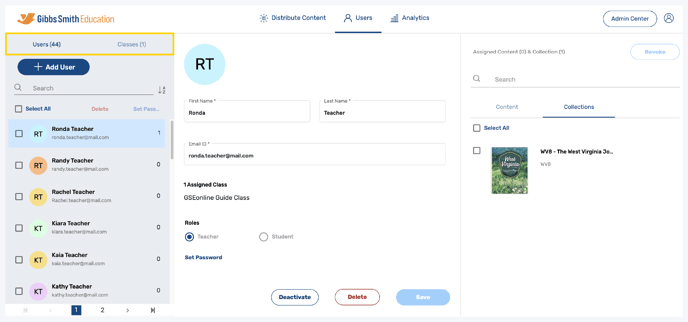
5. In the Users or Classes section, click "+ Add User" or "+ Add Class"
6. Click "Multiple Users"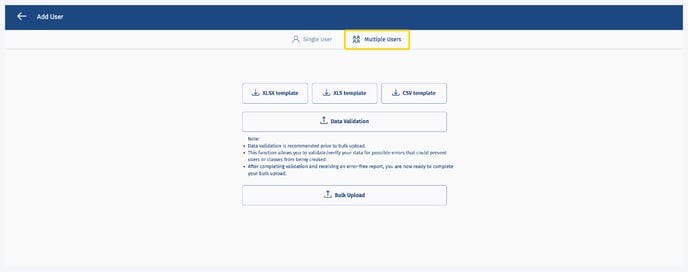
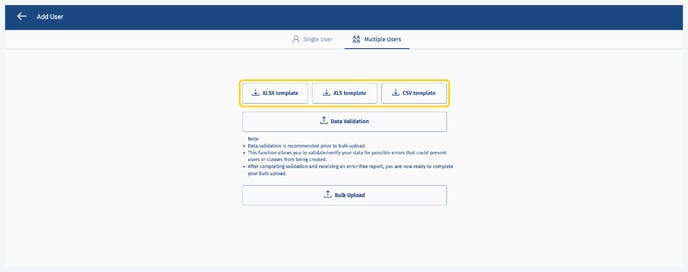
7. Click the "Download" icon next to the file format you would like to use to upload your data
There are three formats you can use to fill in and upload your data: .XLSX, .XLS, or .CSV
District Level accounts use the Group_Bulk_User_Creation_Sample template.
School Level accounts use the Bulk_User_Creation_Sample template.
The images below show the difference between a District Level template and a School Level template. 
8. Open the sample file in Microsoft Excel or a similar spreadsheet program
Note: If necessary, click Enable Editing

9. Click "Instructions" at the bottom left of the screen and review the character limits and instructions

10. Click "Bulk Upload" at the bottom left of the screen and you can begin inputting user data
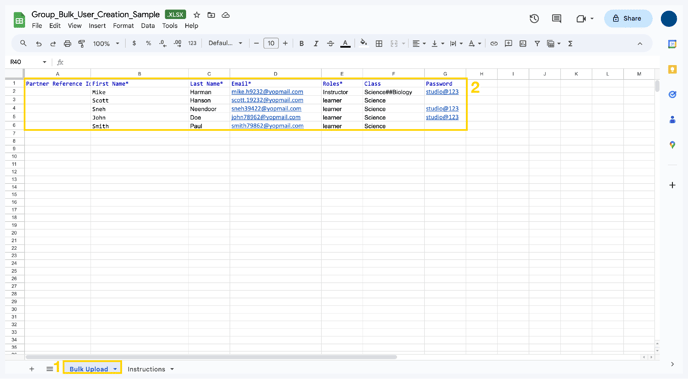
11. Fill in the sample sheet
Tips for Filling in the Bulk Upload Sample Sheet:
- Important: Do not change column headers or order
- Only columns with an asterisk are required
- The Partner Reference ID column is only available in District Level accounts
Note: This column is not mandatory and is used if a district admin
would like to assign users to multiple schools within a district.
• Guide: How to Find Partner Reference IDs - In the "Roles" column, teachers and administrators should be listed as "Instructor," and students should be listed as "Learner"
- Remember to fill in your data on the Bulk Upload tab of this workbook, not the Instructions tab
- First Name, Last Name, Email, Roles, and Password are mandatory fields
- Username and Class are non-mandatory fields
Note: If you do not use the Username column, the system
will use the provided email addresses as the usernames
- Use “##” as a separator when the user belongs to multiple classes (ex. Science##Biology)
12. Save and/or download the file in one of the following formats: .XLSX, .XLS, or .CSV
13. In the Administrator Portal, click "Data Validation" and select your file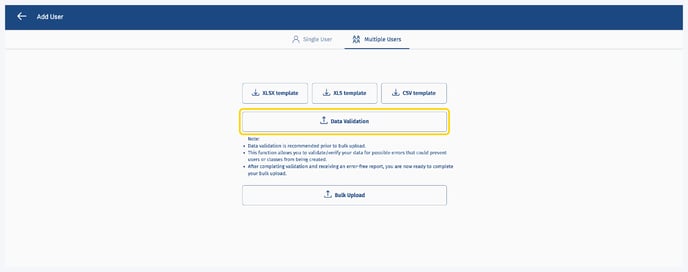
14. Click "Download Log File" at the bottom of the page to download the Error Sheet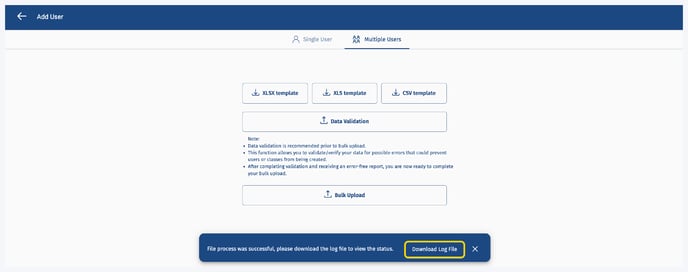
15. Open the Error Sheet in Microsoft Excel or a similar spreadsheet program and review errors in the "Validation Errors" column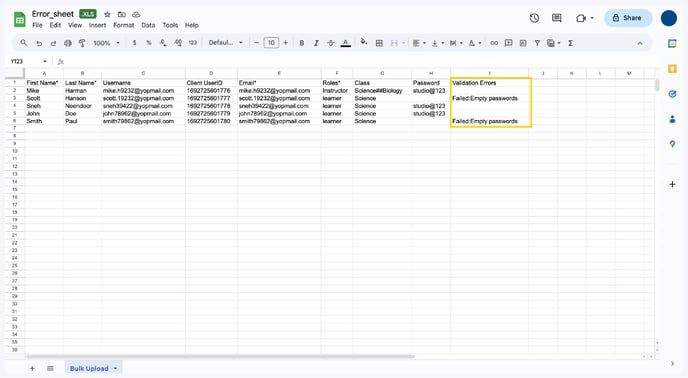
16. If there are any errors, open your original file and make the corrections
17. Repeat Steps 13-15 (Data Validation and corrections) if you have made corrections.
18. In the Administrator Portal, click "Bulk Upload" and select your sheet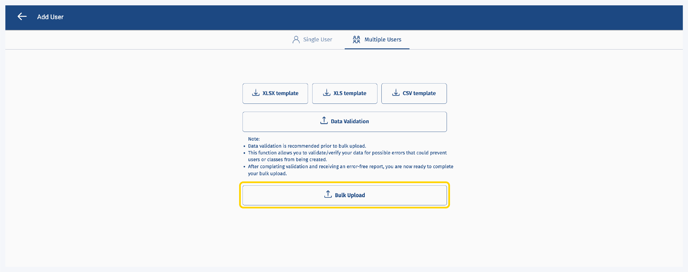
19. To view the report for your upload you can click "Download Log File" at the bottom of the page
20. On the Users page, you will now see the users and classes in the left panel

Having trouble? Try enabling pop-ups and clearing cache and cookies.