Learn how to create an individual class in the Administrator Portal
Important: If you have chosen an automated rostering method, you do not need to create classes individually. Classes will be created when roster data syncs.
1. Click "Users" at the top of the page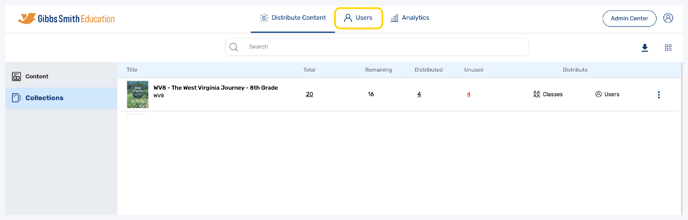
2. (District Accounts Only) Click the School Selection from the top of the page and select which school you would like to manage users and classes for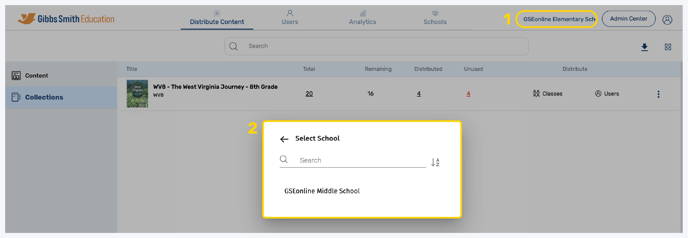
3. Click "Classes" from the left-hand panel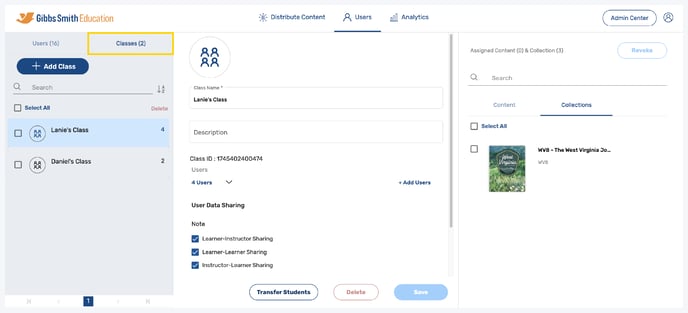
4. Click "+ Add Class"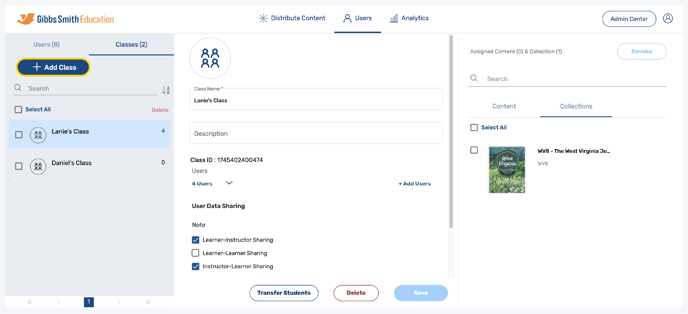
5. Enter the Class Name and Description (Optional)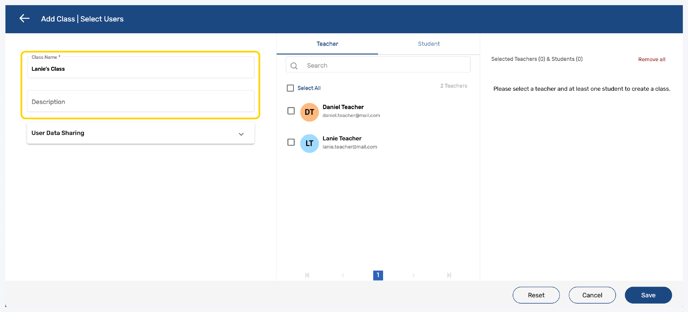
6. Click "User Data Sharing" to open a drop-down menu and select the desired level of data sharing for annotations
Note: Your administrator may have pre-established these data sharing levels, such that any changes may not take effect. Contact your administrator with questions

7. Select at least one teacher from the list or by using the search feature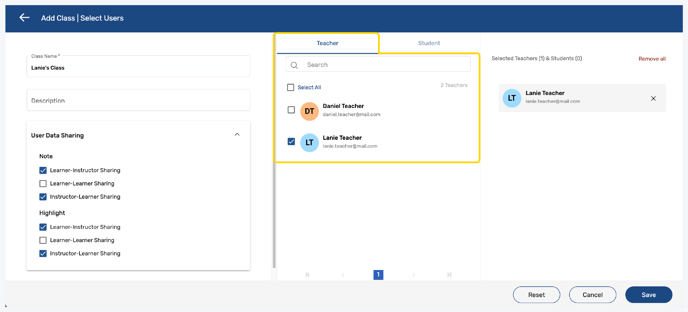
8. Click "Student" and select at least one student from the list or by using the search feature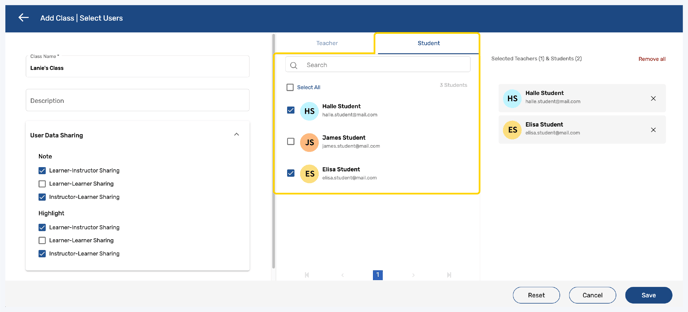
9. Click "Save"
Note: You can also click Reset or Cancel at any time

10. On the Users page, in the Classes section, you should now see the class in the left panel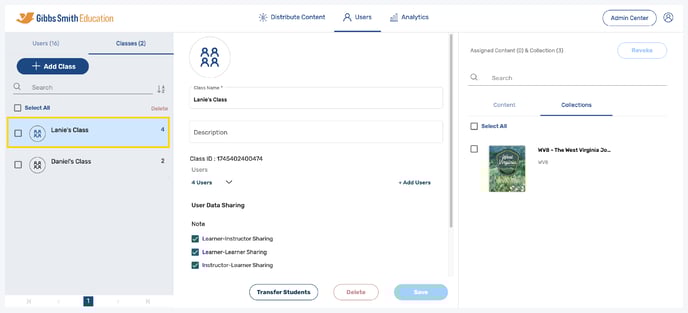
Having trouble? Try enabling pop-ups and clearing cache and cookies