Within this article:
• Introduction
• Account & Data Management
• Creating Users & Classes
• Distributing Content
• Teacher & Student Access to GSEonline
• Rostering Steps
• Step 1: Generating a Google Classroom Client ID
• Step 2: Syncing with Google Classroom
Introduction
Integration with Google Classroom automates rostering by importing students, teachers, and classes directly from Google Classroom. It also enables single sign-on (SSO) using users’ Google accounts. This streamlines access and setup by eliminating the need to manually create users or classes.
Account & Data Management
School administrators or teachers use School Level accounts in the Administrator Portal to manage classes and users within a school.
Note: District Level account management is not available for those rostering with Google Classroom.
Important: To protect student data and privacy, rostering is managed directly by schools and districts. This approach gives them full control over account access and ensures data remains secure.
Adding Users & Classes
Students, teachers, and classes will be added automatically when data is synced. For Google Classroom, data is synced from the Users page under the Classes section.
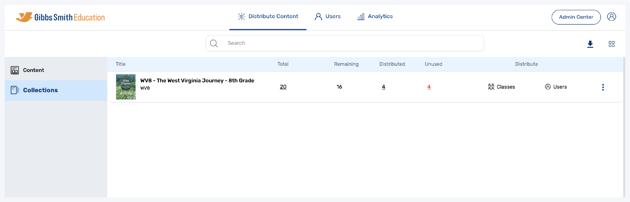
Distributing Content
Once users are rostered and assigned to classes, the school account admin can distribute content to students, teachers, and entire classes.
• Distributing Content to Users & Classes
Teacher & Student Access to GSEonline
Teachers and students log into GSEonline using the Sign in with Google button. Student and teacher usernames must be their Google Classroom email.
Rostering
Rostering with Google Classroom requires two steps:
1. Generating a Google Classroom ID and sharing it with the GSE team
2. Syncing Google Classrooms once the configuration is completed by the GSE team
Step 1: Generating a Google Classroom Client ID
1. Log in to the Google Cloud Console: console.cloud.google.com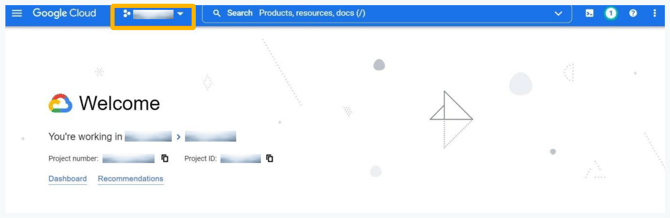
2. Click on the class drop down and click New Project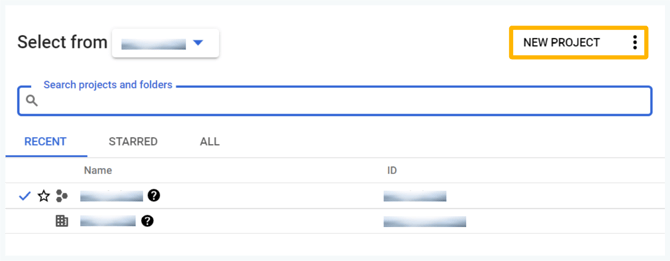
3. Fill in all the required details marked with * and click Create
4. Click the menu at the top left corner, hover over APIs & Services, and click OAuth Consent Screen
5. Select the User Type

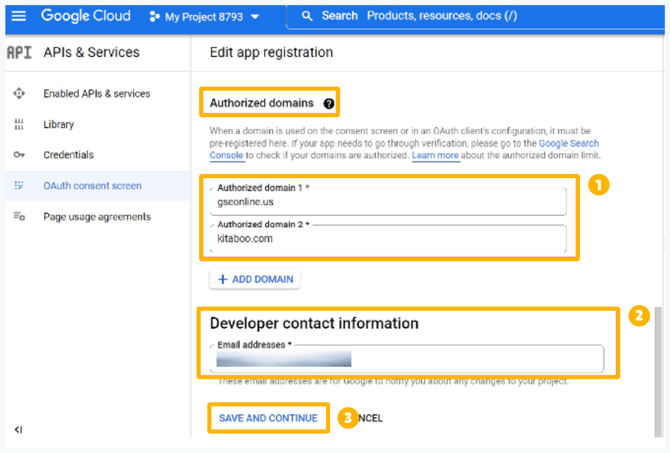
6. After selecting user type, fill in all the required details marked with *
Under Authorized domains, add these domains:
Under Developer contact information, input the email you would like to use to receive notices about changes to the project
Click Save and Continue
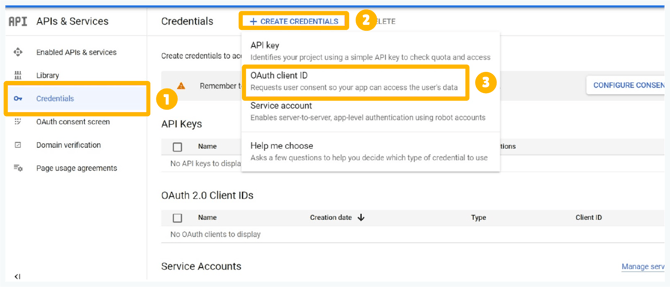
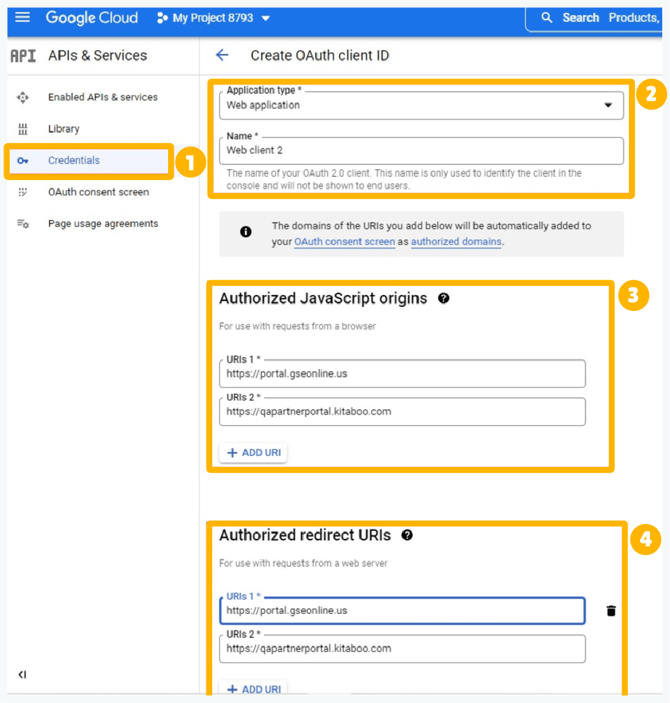
7. Click Credentials from the left-hand menu and click +Create Credentials
Click OAuth client ID, select the application type, and enter all required details marked with *
Scroll down to Authorized JavaScript Origins and Authorized Redirect URLs and add these two URLs:
• https://portal.gseonline.us
• https://qapartnerportal.kitaboo.com
After adding the URLs, click Create and the Client ID will be generated
8. After the Client ID is generated, click Enabled APIs & Services from the left-hand menu then click +Enable APIs and Services and search for Google Classroom API
9. Click Google Classroom API then click Enable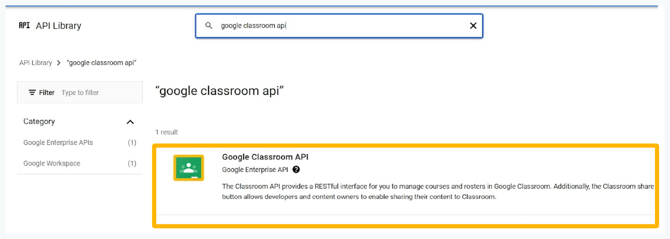
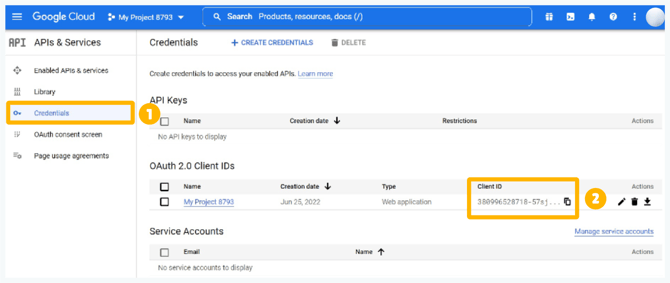
Click Credentials to view the generated Client ID
Click the Copy icon to copy the ID under 0Auth 2.0 Client IDs
Step 2: Syncing with Google Classroom
1. Login to a School Level account
If you are unsure whether you are in a school level or district level account, check out the guides below:
2. Go to the Users tab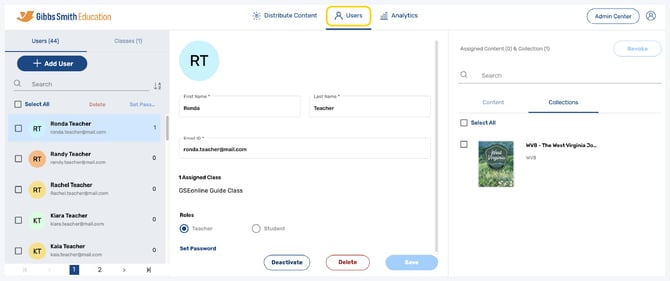
3. Click Classes from the left panel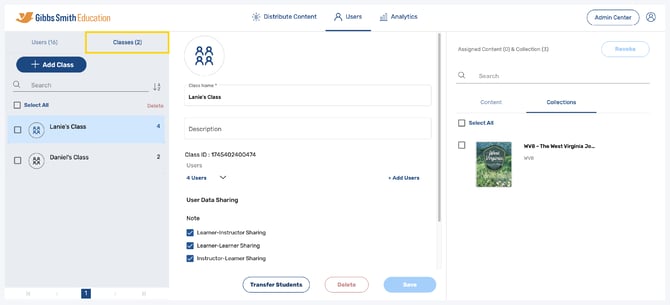
4. Click Sync with Google Classroom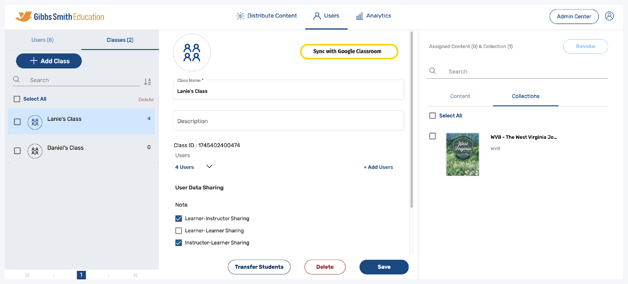
5. Login using the Google ID from which the app was configured in the Google Cloud Console: console.cloud.google.com/
6. Select Load Full Data then click Apply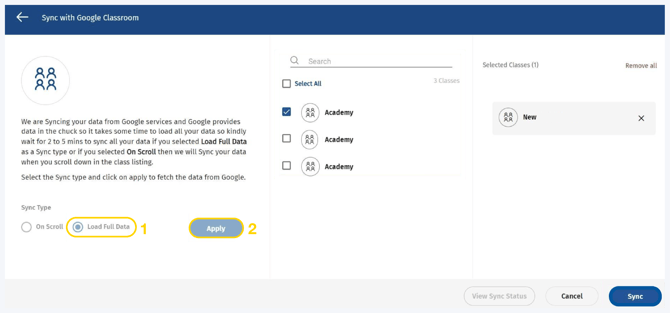
7. Select the classes which you want to sync from the list or by using the search feature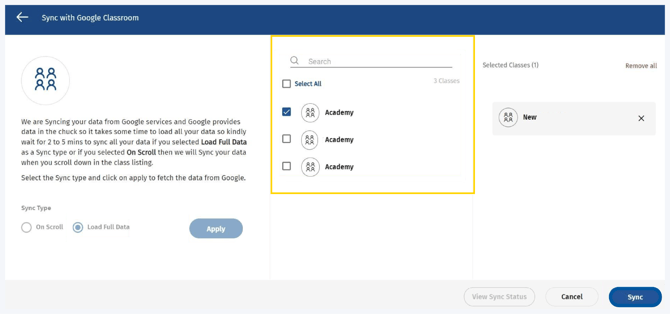
8. Click Sync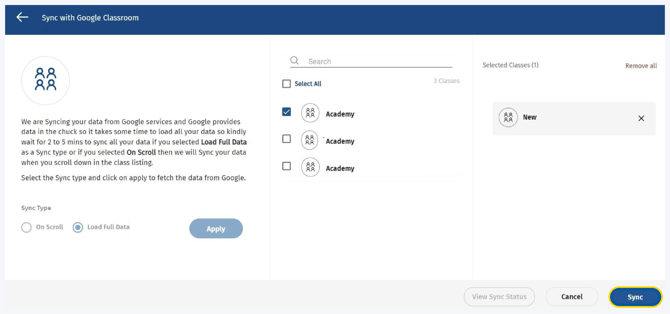
Back to Top
Having trouble?
Try enabling pop-ups and clearing cache and cookies.