Learn how to distribute content to classes in the Administrator Portal
1. Click "Distribute Content" at the top of the page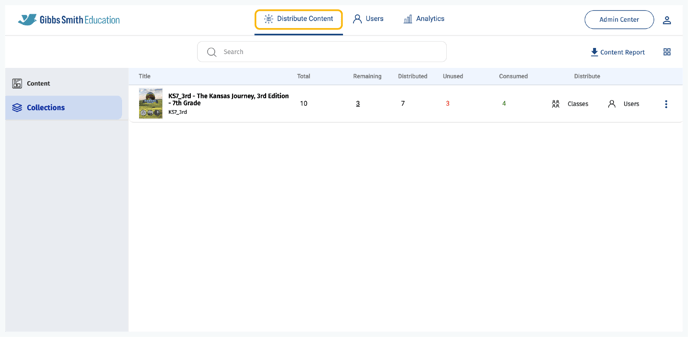
2. (District Accounts Only) Click the School Selection from the top of the page and select which school you would like to manage users and classes for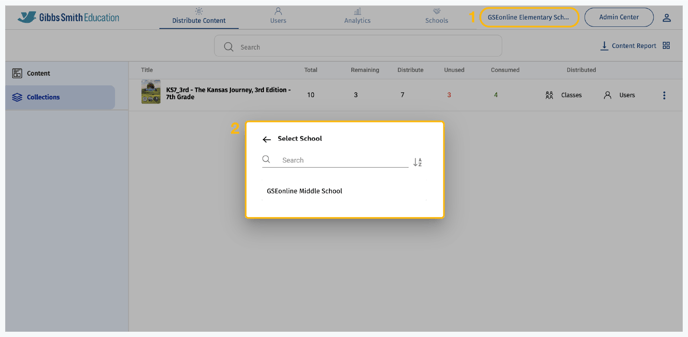
3. Find the collection you would like to distribute from the list or by using the search feature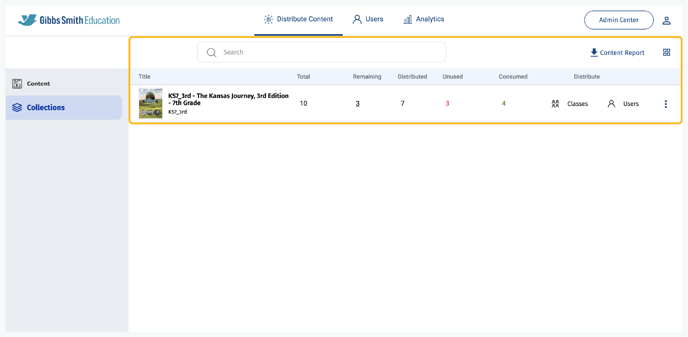
4. Under "Distribute", click "Classes"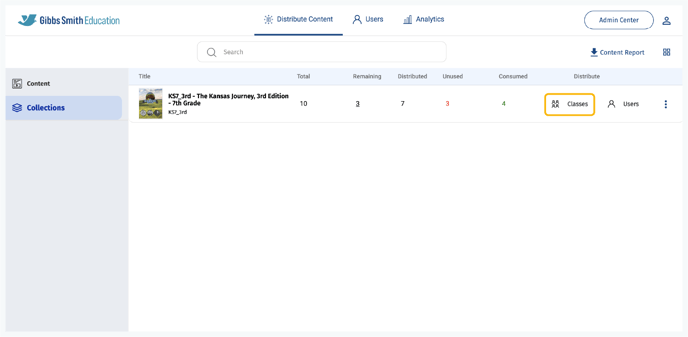
5. Click the menu under "Select Class", locate the classes you would like to distribute content to from the list or by using the search feature, and click "Submit"
Tip: You can also distribute content to all classes by clicking the checkbox next to All Classes
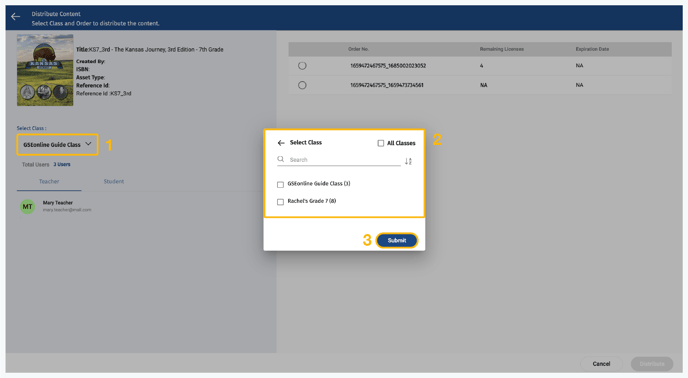
6. A pop-up may appear requesting you input an email in order to distribute content. Any email may be used and an email regarding the distribution will be sent to that email.
Note: Depending on volume of users and classes, the confirmation email may take a while to deliver. Check "spam" or "other" folder in your email client if you do not receive the email.
7. Select the Order No.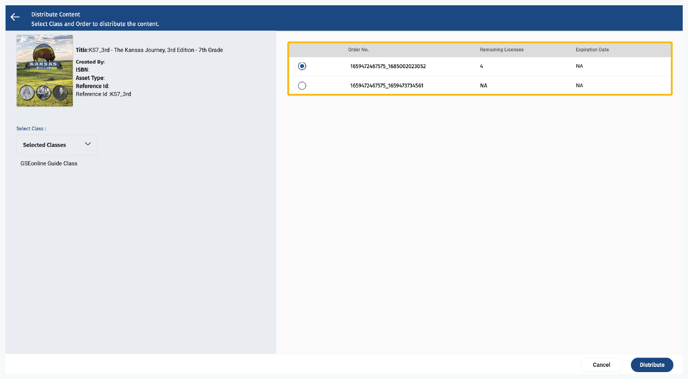
8. Click "Distribute"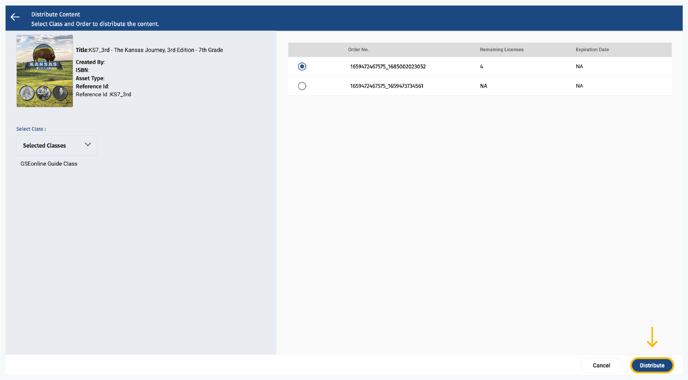
9. If the content has been distributed successfully, a message will pop-up at the bottom of the page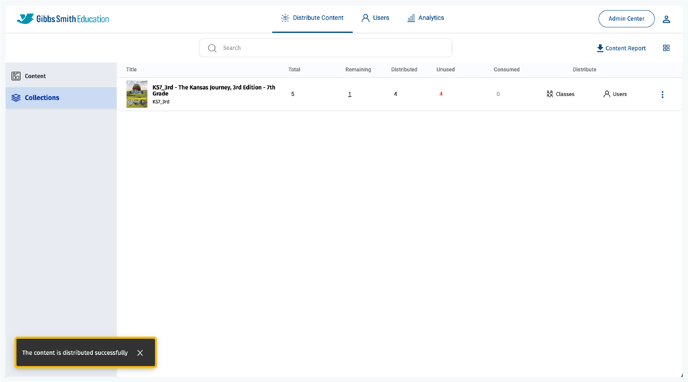
10. On the Users page, when you click on the class(es) you should now see the distributed collection under "Collections" in the right panel of the class profile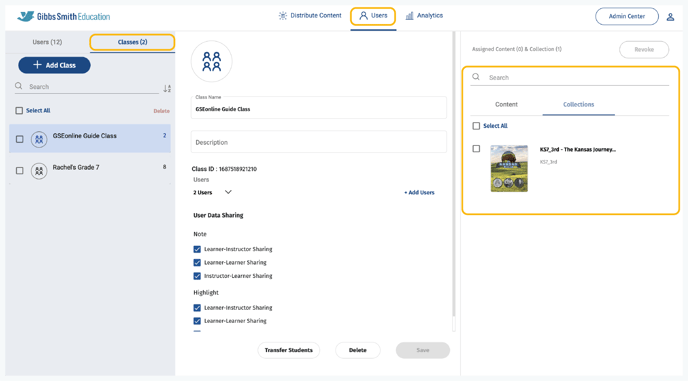
Having trouble? Try enabling pop-ups and clearing cache and cookies.
