1. Click Users at the top of the page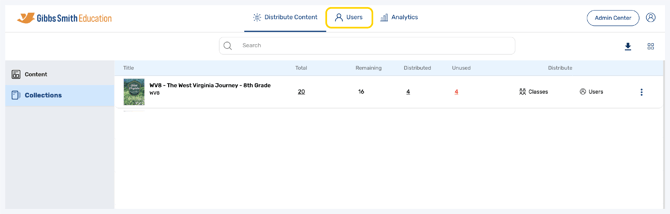
2. (District Accounts Only) Click the School Selection from the top of the page and select which school you would like to manage users and classes for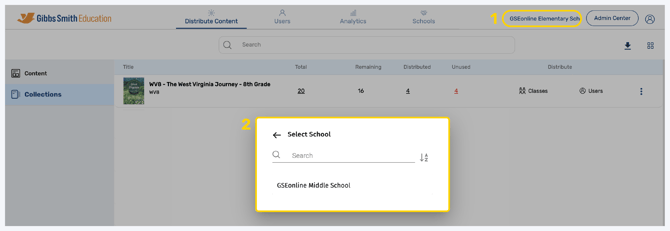
3. Click Classes from the left panel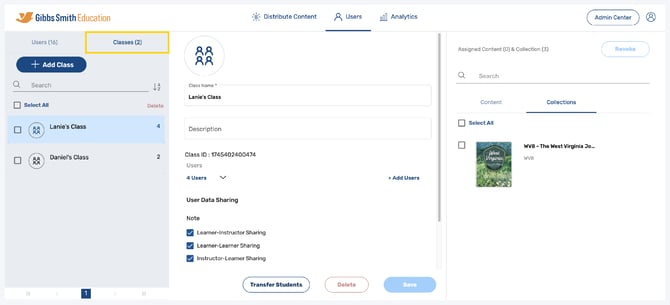
4. Click on the class you would like to edit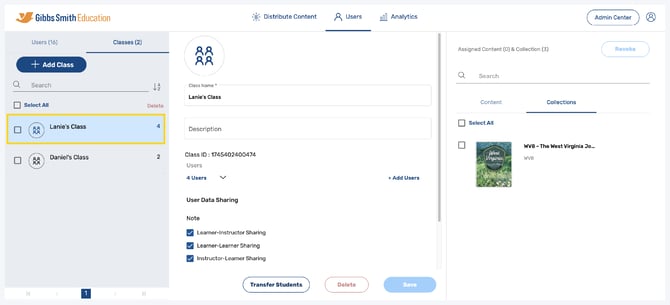
5. Update class details such as Class Name, Description, and User Data Sharing Settings and click Save to save changes
6. To view, add, or remove users in the class, click the down arrow next to Users to see who is currently in the class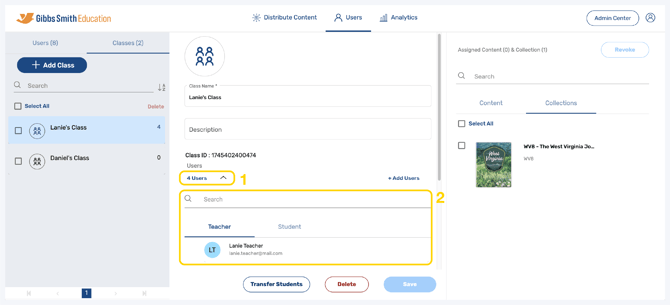
7. Hover over a user you would like to remove and click the X next to their name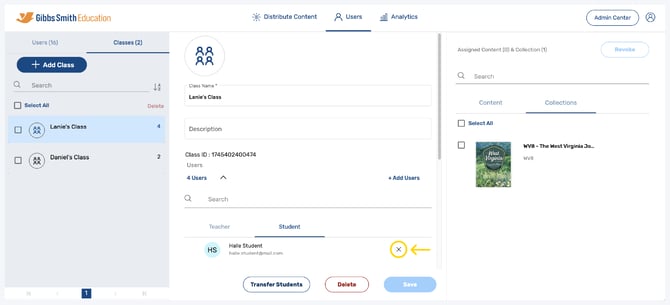
8. Add users to a class by clicking + Add Users
9. Find the user(s) you would like to add from the list or by using the search feature and click the checkbox next to their name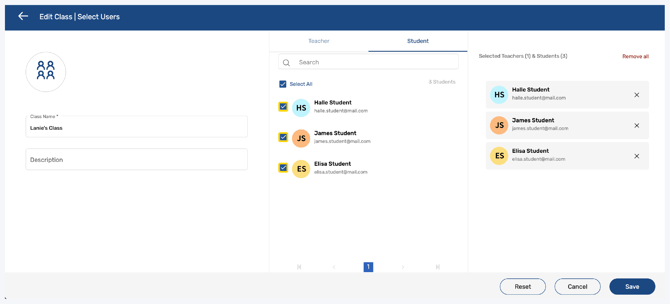
10. Click Save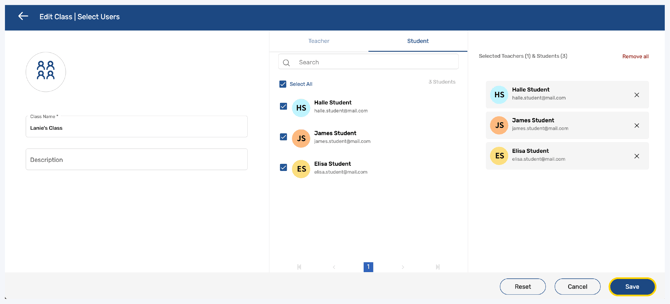
11. If content has previously been assigned to the class, then a pop-up will appear, click the checkbox on the left then click Assign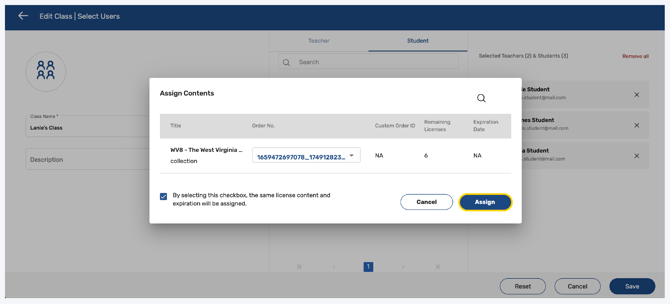
12. Delete a class by clicking Delete
Warning: Deleting a class is permanent. Users within the class will not be deleted.
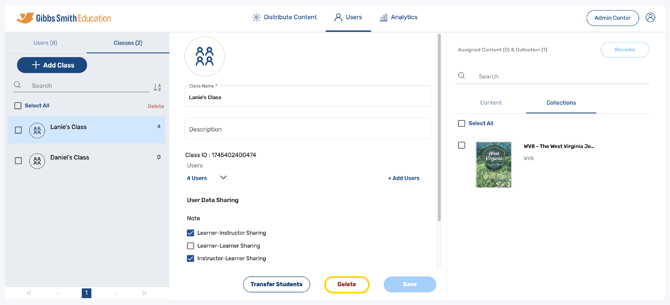
13. In the right panel under Collections, you can view collections which have been distributed to the class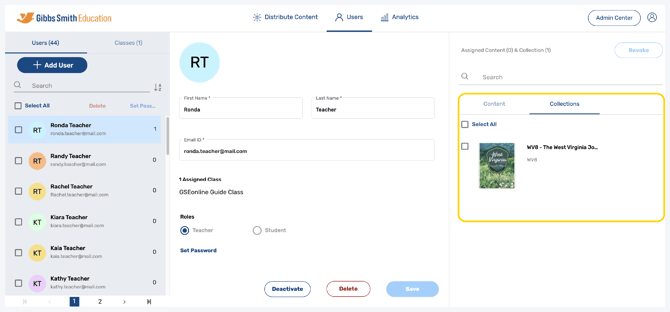
14. Search for collections by typing a keyword in search bar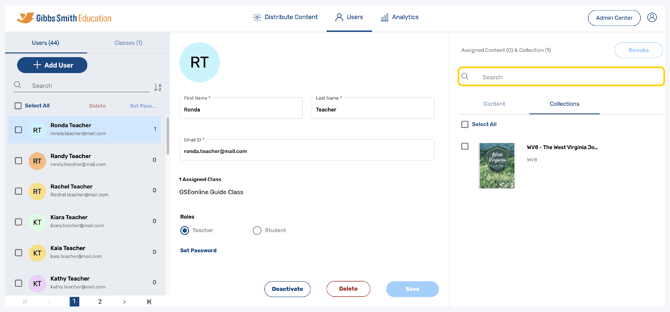
15. To revoke content, select the collection you wish to revoke by clicking the checkbox, then click Revoke
Having trouble?
Try enabling pop-ups and clearing cache and cookies